
Automobile Mould Design: Mastering Complex Parting and Special Mechanisms
What makes automobile mould design hard — complex parting surfaces, sliders, lifters, collapsible cores and unscrewing devices — and how to learn these special moulds the industry way.
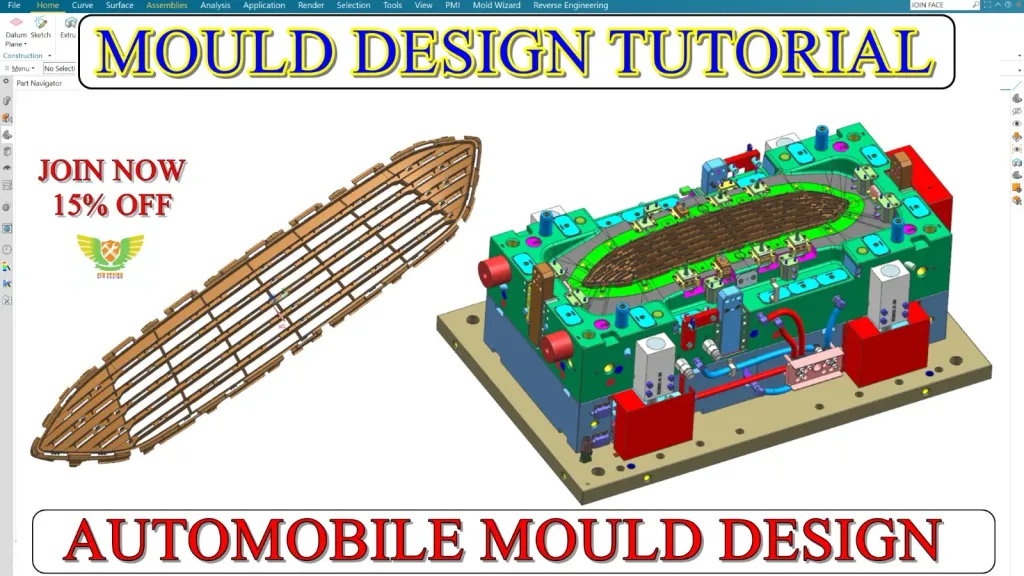
Automobile mould design is where mould engineers prove themselves. Car parts — trims, grills, visors, door components, engine guards — combine sculpted surfaces, strict cosmetics and multiple undercuts, all in one tool. Designing them well demands both advanced surfacing judgement and a toolbox of special mechanisms. Here’s the landscape.
Why automobile parts are hard
Two things make these parts challenging. First, the geometry is freeform — flowing surfaces instead of prismatic blocks — which makes parting surfaces genuinely difficult to build cleanly. Second, the parts are full of undercuts on every face, so a single simple split is never enough. Success comes from methodical parting and the right mechanism for each undercut.
Master complex parting
The defining skill is building parting surfaces on complex geometry:
- Patch-based parting for grills and perforated panels.
- Split-type parting surfaces where a single surface can’t divide the part.
- Confident core and cavity extraction even when surfaces are broken or messy.
Working many real cases — car grills, door trims, visors, scooter engine guards — is the only way to build this intuition.
Learn the special mechanisms
Automobile tools rely on mechanisms to release undercuts. The essentials:
- Sliders — for external undercuts, including curved and reverse sliders.
- Lifters and double lifters — for internal undercuts, with proper travel calculations.
- Collapsible cores — for internal features that can’t be reached by side action.
- Unscrewing / gear moulds — rack-and-pinion and motor types for threaded parts.
- Dog-leg and T-slider arrangements — for tricky combined motions.
Each mechanism has geometry, a calculation and a motion you should validate with a mould animation.
Validate motion before you machine
Because these tools have moving components, animation and mechanism checks matter. Confirm that sliders clear, lifters travel far enough, and collapsible cores contract without collision — all in CAD, before any steel is cut. This is exactly the validation automobile toolrooms expect.
Finish to production standard
Complex tools still need the fundamentals done well: robust mould base, balanced feeding, uniform cooling and reliable ejection. Add electrode design, quotation and BOM, and you can hand over a complete, manufacturable automobile mould.
Your path to advanced moulds
Don’t start here — arrive here. Build strong injection mould fundamentals first, then take on complex parting and one mechanism at a time. When you can design an automobile part with multi-surface parting and a working slider-lifter-collapsible-core combination, you’re operating at the level the best mould designers get paid for.
Frequently asked questions
- Why is automobile mould design considered advanced?
- Automobile parts have complex, freeform surfaces, many undercuts and tight cosmetic requirements. That means difficult parting surfaces and multiple mechanisms — sliders, lifters, collapsible cores — in a single tool.
- What mechanisms should I learn for special moulds?
- Sliders and lifters (including double lifters), collapsible cores, unscrewing/gear moulds, and dog-leg and reverse-slider arrangements. Each has its own calculation and motion to validate.
- Do I need injection mould basics first?
- Yes. Automobile and special moulds build on core/cavity, feeding, cooling and ejection fundamentals. Get comfortable with standard moulds, then take on the complex ones.